The endgame
Drawer foam, and the one thing it does that liner cannot
It makes a missing tool visible. That is the whole argument, it is a good one, and it costs you an afternoon and a real amount of drawer depth.
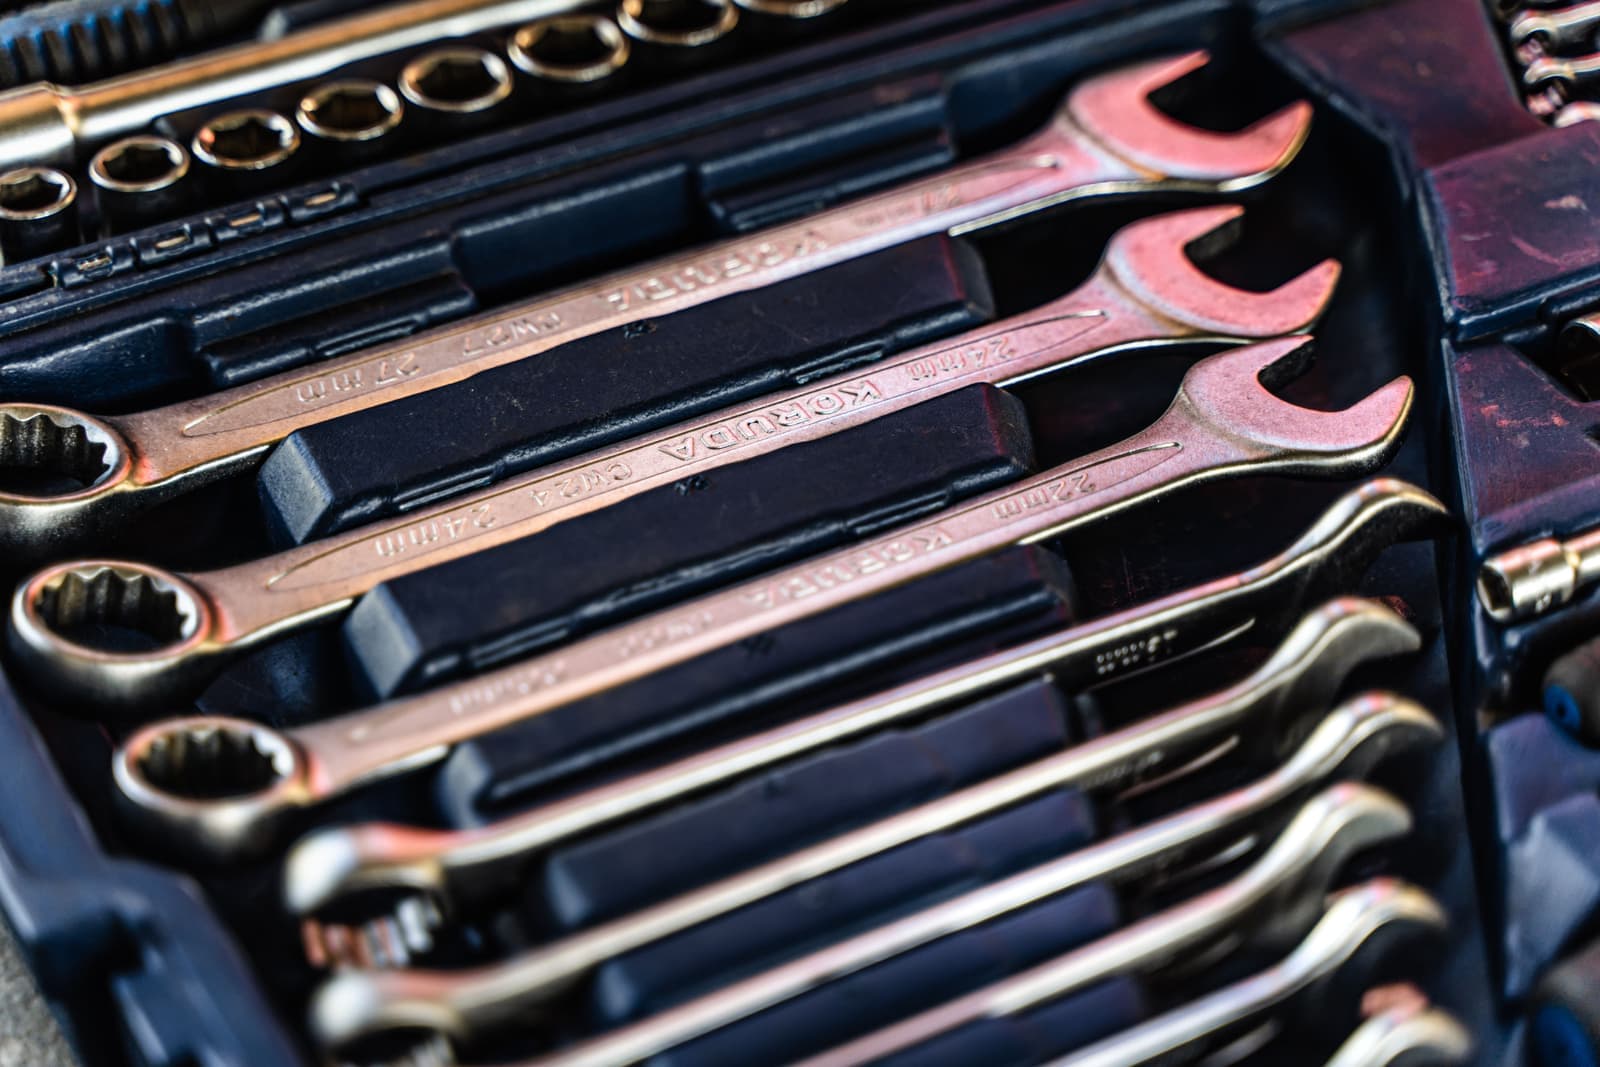
Foam does exactly one thing that a liner does not: it makes a missing tool visible at a glance, because a contrasting layer shows through the empty pocket. Everything else - stopping tools sliding, killing the rattle, protecting the paint - a liner does for a tenth of the effort.
How it actually works
Shadow foam is two bonded layers in contrasting colors, usually a dark top and a bright base. You cut a pocket through the top layer in the shape of each tool, down to the base. Tool in the pocket, and the drawer reads as a solid dark surface. Tool missing, and there is a bright shape where it should be.
That is genuinely useful in two situations and marginal in the rest. If you lend tools, you find out immediately rather than in six months. And if you work to any kind of checklist - finishing a job, packing a bag, closing up - a glance replaces a count.
Quick picks
Ranked on published specifications, not on hype. The key number is the figure that decides each pick, quoted from the maker. Tap a row for the full write-up, or go straight to the listing.
| # | Product | Best for | Key number | Price |
|---|---|---|---|---|
| 1 |  5S shadow foam 18 x 36Two-layer shadow foam is the cheapest thing on this site that changes how a box works day to day: tools stop migrating, and a missing tool becomes visible instead of theoretical. An 18 x 36 in sheet covers one large drawer or two small ones. | Stopping tools sliding when the drawer opens | 2 layerscut-to-fit foam | $43.95 · Check on Amazon |
| 2 |  ONREVA 48 x 24 foam, 2-packBought by the sheet rather than the kit, which is how you want to buy it once you have decided to foam more than two drawers. Two 48 x 24 in sheets at 2 in thick is enough for most of a mid-size box, and the math per square inch is far better than a pre-cut set. | Doing a whole box at once | 48 x 24 inper sheet, 2 supplied | $91.99 · Check on Amazon |
Every key number is a figure the manufacturer publishes. Where a maker publishes none, the row says so rather than substituting an estimate of ours.
Top pick · Stopping tools sliding when the drawer opens
5S Two-Color Shadow Foam Tool Box Organizer, 18 x 36 in.
Two-layer shadow foam is the cheapest thing on this site that changes how a box works day to day: tools stop migrating, and a missing tool becomes visible instead of theoretical. An 18 x 36 in sheet covers one large drawer or two small ones.
- Body steel
- Not published
- Per drawer
- Not published
- Storage
- Not published
- Empty weight
- Not published
What works
- A missing tool is instantly visible, which is the actual point
- Tools stop sliding on a full-extension slide, which stops chipping
- Cheap enough to do one drawer and see if you like it
- The size is published, so you can work out sheet count before ordering
What does not
- Cutting it well takes time and a sharp blade
- Foam eats drawer depth, so a shallow drawer loses real capacity
- Once cut for a set, it is committed to that set
- The listing does not publish a thickness, which decides how deep a pocket you can cut
| Published specification | |
|---|---|
| Type | Two-layer (two-color) cut-to-fit shadow foam |
| Sheet size | 18 in x 36 in |
| Use | Cut a pocket per tool; the contrasting base layer shows a gap |
| Fits | Trim to any drawer |
| Thickness | Not published on the listing |
| Where it is sold | Amazon, plus other retailers |
Who it is for
The drawer you open most, first. Then the rest, slowly.
What it is not for
A drawer full of loose fasteners, where a divider tray is the better answer.
Sources for this entry
2 · Doing a whole box at once
ONREVA Tool Box Foam Sheets, 48 x 24 x 2 in., 2-Pack
Bought by the sheet rather than the kit, which is how you want to buy it once you have decided to foam more than two drawers. Two 48 x 24 in sheets at 2 in thick is enough for most of a mid-size box, and the math per square inch is far better than a pre-cut set.
- Body steel
- Not published
- Per drawer
- Not published
- Storage
- Not published
- Empty weight
- Not published
What works
- Cheaper per drawer than a pre-cut kit once you are past a couple of drawers
- One material across the whole box looks deliberate
- No fitting compromise: you cut to your drawer, not to a template
- 2 in thick takes a deep pocket, including deep sockets standing upright
What does not
- Single color, so a missing tool shows as a hole rather than as a contrasting patch
- Everything is on you, including the mistakes
- Needs a long straight edge and a fresh blade to look right
- 2 in is a lot of drawer depth to give up in a shallow drawer
| Published specification | |
|---|---|
| Type | Polyethylene kaizen foam, cut to size |
| Sheet size | 48 in x 24 in x 2 in |
| Quantity | 2 sheets |
| Use | Trim to the drawer, then cut tool pockets |
| Layers | Single color - no contrasting base layer |
| Where it is sold | Amazon, plus other retailers |
Who it is for
The second stage of foaming a box, after you have decided you like it.
What it is not for
A single drawer, and anyone who specifically wants the two-color missing-tool signal - that is the shadow foam above.
Sources for this entry
How we picked
- Two layers, contrasting colors. A single-color foam does not show a gap, which defeats the point.
- Sold in a size that matches how much you are doing. Kits for one or two drawers, sheets once you have committed to a box.
- Thickness against your drawer depth, because foam is depth you no longer have.
- Cuts cleanly. Cheap foam tears rather than cutting and the result looks it.
What we did not do
Everyone in this category says they spent seventy-five hours testing tool chests. We have not opened any of these boxes, and we say so. What we do instead: compile the published specs, convert the steel gauges, multiply out the slide ratings, cite the maker’s own listing, and show the arithmetic so you can check it. The full method, including how to challenge a figure.
What we would skip
A list with no losers is a list nobody edited. These are the choices we would actively steer you away from, and why.
Foaming the deep bottom drawer
Two layers of foam in a deep drawer is capacity you paid for and just gave away. The deep drawers are where bulk lives - impact sockets, power tools - and bulk does not need pockets. Foam the shallow drawers and tray the deep ones.
Foaming before the layout has settled
Foam is committed to one arrangement of one set of tools. Cut it in week one and you will be living with a week-one decision for years. Use the box for a month, notice what you keep walking to, then cut.
Single-color foam
The entire mechanism is that a missing tool leaves a visibly different-colored gap. One color and you have made an expensive non-slip mat.
What it costs you in drawer depth
This is the part nobody mentions. Foam is typically an inch to an inch and a half of the two layers combined. In a shallow drawer of about four inches, that is a quarter to over a third of the depth, and for screwdrivers and wrenches lying flat it costs nothing you were using.
In a deep drawer it is a different calculation entirely. Give up an inch and a half of a six-inch drawer and you have lost the ability to stand impact sockets upright, which was the point of the deep drawer. That is why the rule is foam shallow, tray deep. Socket trays are the right answer for the other case.
Cutting it so it does not look homemade
- Trim the sheet to the drawer first, with a long straight edge and a fresh blade. Cut from the back of the sheet against a straight edge, not freehand.
- Lay the tools out on the trimmed sheet and photograph it before you mark anything. You will move things three times and the photograph is what stops you losing the version you liked.
- Leave a finger gap at one end of every pocket. A pocket cut exactly to the tool is a pocket you cannot get the tool out of.
- Cut vertically, all the way through the top layer. Angled cuts leave pockets that look sloppy and let tools sit proud.
- Change the blade more often than feels necessary. A dull blade tears foam, and torn foam is what makes a job look homemade.
Worth noting that neither foam nor liner helps the tools you never put away because you use them constantly. Those belong on the wall, and tool chest vs pegboard sets out where the line falls.
Which drawers to do, in order
- The drawer you open every session. Almost always the top one, and almost always screwdrivers, a small ratchet and pliers.
- The drawer with the set you lend. Foam is at its most useful where tools leave and are meant to come back.
- A drawer with a specific set in it - a complete metric combination set, say, where completeness is the thing you care about.
- Nothing else, probably. Three foamed drawers in a box is a considered choice; eighteen is a hobby.
Buy a kit for the first one or two and switch to sheets if you carry on - sheets are cheaper per drawer and let you cut to your drawer rather than to a template. The full organizing order puts foam where it belongs, which is last.
Common questions
Is tool box foam worth it?
For two or three drawers, yes - it is the only thing that makes a missing tool visible at a glance. For an entire box it is an afternoon of careful cutting and it costs real drawer depth. Foam the shallow drawers you open most; use trays in the deep ones.
How thick is tool drawer foam?
Typically an inch to an inch and a half for the two bonded layers. In a four-inch shallow drawer that costs you nothing you were using; in a six-inch deep drawer it can stop you standing sockets upright, which was the point of the deep drawer.
How do you cut tool box foam neatly?
Trim the sheet to the drawer against a long straight edge first, lay out and photograph the arrangement before marking, leave a finger gap at one end of each pocket, cut vertically through the top layer only, and change the blade often - dull blades tear foam.
Sources
Read next
Tool box drawer dividers, and what they give up to cut foam
Drawer dividers and expandable trays compared against cut foam - ten minutes and reversible, against the missing-tool signal only foam gives you.
The best magnetic tool holders, and why the pull ratings disagree
Magnetic bars, toothed rails and slotted holders compared - plus the published pull rating that two sources quote twenty-four times apart.
How to organize a tool chest, in the order that works
Frequency decides the height, weight decides the depth, and the buying order that puts foam last for a reason.
Drawer liner: ten minutes, the whole box, do it on day one
The cheapest and first upgrade for any new chest: what sliding actually costs, and how to line a whole box in ten minutes.
Socket organizers, for the worst drawer in any tool box
Why sockets are the worst-behaved thing in any drawer, and an honest comparison of trays, rails, foam and magnets.
Top chests: the second purchase, not the first
What a top chest is for, why it is the wrong first purchase, and how to compare them on published volume rather than drawer count.
What your drawer actually weighs, and what the box weighs full
The calculator for your own heaviest drawer, published tool weights, and the loaded-box figure no manufacturer prints.